

Understanding Focusing in Photography

Focus in photography is the clarity or sharpness of the elements in your photo. Good focusing is the result of using autofocus features or manually focusing the lens to create the sharpest view of the subject.
The camera settings you select and the tools your camera offers enhance your ability to control focus, highlight zones or parts of the scene, create deeper depth of field and improve the visual interest of your photographs.
This guide to understanding focusing in photography defines good focus and discusses how to achieve it using your camera’s built-in capabilities as well as manual focus options. Good techniques and tips are included.
- What is Focusing in Photography?
- The Basics of Camera Focusing
- Autofocus vs Manual Focus
- Mastering Manual Focus
- Focusing and Composition in Photography
- How to Overcome Common Challenges in Focusing
- What are General Focusing Tips for Beginner
What is Focusing in Photography?
Focusing in photography is adjusting the camera lens so that the subject looks clear and sharp to the photographer’s eye.
A more technical definition of focusing in photography is that the camera lens gathers light and adjusts its shape until it projects a sharply focused image of the subject onto the camera sensor. The sensor converts the light it receives into digital data, and the photo is created.
Understanding the principles of focusing your camera gives you greater technical and creative control over the quality of the photos you produce.
To summarize, camera focus determines which parts of the entire scene are sharp and which parts are blurred, if any. Proper focusing is one of many essential elements affecting the quality of the photos produced.

The Basics of Camera Focusing
Camera focusing basics start with image clarity, which is the goal, vs a blurry main subject, which shows poor focus.
It is important to distinguish between image focus vs sharpness. Proper focus is the result of the lens being accurately adjusted to transfer to the camera’s sensor a clear image of the subject. On the other hand, sharpness of the image is a factor of good focus but also of the quality of the lens and camera, the sensor’s resolution and any image post-processing that might be done. In short, a sharp image is an image in focus using quality equipment, while a focused image may not be sharp if cheap or dirty equipment is used.
In terms of the camera components, aperture is essential to focusing because it controls the amount of light the sensor is exposed to and the depth of field of the image. In terms of where to focus, a wide aperture setting, or low f/stop number, produces a shallow depth of field. As a result, your main subject will be clear, but objects in the foreground and especially the background may be blurry. The narrower the aperture, or the higher the f-number, the deeper the depth of field, meaning image clarity goes further into the shot from foreground to background.
Additionally, most digital and mirrorless cameras allow you to choose a specific point of focus, i.e. focus points, or to select a zone within the frame to be in focus.
Focusing can be done manually by the photographer adjusting the lens. Manual focus is more difficult but offers you greater control and precision over what is and isn’t in focus. Or focusing can be achieved by using one of the camera’s autofocus (AF) options. When using autofocus settings, the camera chooses the best focal point for the shot.
Focal Length, Aperture and Depth of Field
Focal length and aperture combine to determine the depth of field in photography. Depth of field refers to how much of the scene, from front to back, is in sharp focus.
Focal length is the distance between the lens and image sensor when the subject is in focus. Focal lengths for camera lenses are shown in millimeters such as 35mm, 50mm, and 85mm focal length.
Depth of field is impacted by focal length in this way: The shorter focal lengths of wide angle lenses produce deeper depth of field, meaning that more of the scene from the foreground to the background are in focus. On the other hand, lenses with longer focal lengths produce a shallower depth of field where only the subject and immediate background are in sharp focus.
Aperture setting is the size of the lens opening – how much light reaches the sensor. The wider the aperture, expressed by lower numbers like f/1.4 and f/2.8, the shallower the depth of field, meaning only the subject will be in focus; what is behind will begin to be blurry, the further in the background it is. Narrower aperture settings like f/8 to f/22 allow in a narrower cone of light, resulting in a deeper depth of field, meaning more of the background is captured in sharp detail.
Tip: The closer the camera is to the subject you focus on, the shallower the depth of field will be, regardless of aperture or focal length.
We can draw several conclusions. First, a longer focal length lens has a shallow depth of field compared to a lens with a short focal length at the same aperture setting. The subject is magnified and the scene, front to back, is compressed and flat. In terms of aperture and depth of field, on one end of the spectrum, long focal length and wide aperture creates a very shallow depth of field, often used in portrait photography. A short focal length, i.e. a wide-angle lens, and narrow aperture produces deeper depth of field suitable for architectural or landscape photography.

Bokeh
Bokeh is a soft blur in the background of an image that serves to isolate the main subject. Using bokeh is a creative technique in portrait photography, product photography and other genres when a single subject is the only or primary interest of the shot.
Bokeh is created with a shallow depth of field. This is achieved using a wider aperture setting such as f/1.4 or f/2.8. Lenses with wide aperture settings are called a fast lens because the wider aperture allows in more light, which in turn means a faster shutter speed can be used, both stopping motion blur and capturing and isolating the subject.

Selective Focus
Selective focus is similar to bokeh because it uses a shallow depth of field produced with a wide aperture setting. The shallow depth of field gives you the opportunity to achieve sharp focus on your subject or other key focal point while blurring the area in back or or, if desired for creative effect, the area in front of your subject.
That’s the key difference – bokeh typically blurs the background only, while the photographer may choose to blur the area in the foreground using selective focus. And while selective focus is a technique, bokeh refers more to the effect of using the technique.
And like bokeh, the purpose is to focus attention on the subject by presenting it with sharp detail while other areas are less sharp or blurred.
Selective focusing is common in macro photography and is also used in portrait photography, wildlife photography, and artistic photography to highlight a single subject.

Focus Stacking
Focus stacking is a technique that produces a greater depth of field than could be achieved with a single photo. The technique is also called focal bracketing.
This focusing technique involves taking multiple shots each at a different focus distance – for example, successive shots focusing deeper and deeper into the scene capturing all the key elements you want to be in focus in the final product.
Then using post-processing software, the images are stacked or merged to produce one image in which each distance from the camera is in sharp focus. It is a technique used in landscape photography when sharp focus deeper into the scene is desired. Focus stacking is also useful in macro photography and in some portrait photography when a deep depth of field is preferred.

Autofocus vs Manual Focus
Your options for camera focusing are autofocus in which the camera makes key focusing decisions and manual focus in which you maintain control over focus decisions.
Autofocus in photography means that the camera automatically adjusts the lens so that the main subject, which it chooses, is in clear focus. Your digital camera uses phase detection or contrast detection technology, or you might have a choice between them, to rapidly adjust focus.
In addition, your autofocus or AF mode options may include:
- Single AF: This is autofocus for each shot individually, and the camera focuses when you push the shutter button halfway. This mode is also called single-servo AF or AF-S.
- Continuous AF: In this mode, the camera lens adjusts continuously as the subject moves. This is also known as continuous-servo AF or AF-C.
- Automatic AF: In this mode, the camera chooses which mode to use for the scene. It is also termed AF-A.
- Manual override: A few cameras allow you to manually change the focus after the camera autofocuses.
In addition to these modes, many cameras include focus tracking in which the camera stays auto focused on a subject as it moves across the scene. This has obvious advantages for sports, wildlife and action photography.
And most current autofocus systems also have eye-detection and face-detection capabilities, making it easier to focus on subjects.
Manual focus in photography means that you physically adjust the lens using the focus ring until the subject you want in focus is clear and sharp. This typically involves looking through the camera’s viewfinder as you adjust the ring. Essentially, you are doing yourself what autofocus would otherwise do for you. Manual focus gives you the most control over the shot you get – but also leaves significant room for error.

When to Use Autofocus
There are several common times to use autofocus. First, if you’re new to photography, using autofocus makes it easier to get good photos while you are learning the principles of composition, aperture and shutter speed.
Even as you progress in your expertise, you’ll find autofocus useful in some situations. Autofocus is ideal when your subject or subjects are moving, such as in wildlife and bird photography, sports photography, family photography when you’re capturing candid shots of kids and adults playing, etc.
Also consider using your camera’s autofocus feature when time is of the essence – and you don’t have time to manually adjust focus. Keeping your camera on AF makes it easier to quickly capture great images. Finally, low-light conditions are a challenge for even skilled photographers, and autofocus will likely “see” your subject better than you can, ensuring you get the sharp image you want.
Tip: Most DSLR and mirrorless cameras have an autofocus lock option. Autofocus is locked on either by pressing the shutter button halfway to activate it and all the way to lock it on. Or your camera might have a focus lock button labeled AE-L for auto exposure lock or AF-L for autofocus lock.

Image from Istockphoto
When to Use Manual Focus
Use manual focus when autofocus doesn’t give you the focus you want. For example, if your camera focuses on part of the scene you aren’t trying to capture in sharp detail, you’ll have to switch to manual focus. This is often the case when you are being creative with the scene.
Manual focus is also useful in macro photography when you want to ensure specific details of the subject are in sharp focus.
Finally, you may need to use manual focus in low-light conditions. While this seems to contradict what is said above, there are times when your camera’s autofocus might not do well in dim lighting, and you have to manually adjust focus to get the best shot. It’s a situation where trial and error are necessary.

Image from Amazon
Your camera’s autofocus systems quickly adjust the lens to put the main subject in sharp focus. This allows you to take great pictures in rapidly changing conditions.
Phase detection autofocus (AF) is a common technology in DSLR cameras and in mirrorless cameras with on-sensor phase detection. The camera splits incoming light into two images and compares whether the images line up. If they are in alignment, the camera knows focus is good. If they are not aligned, the camera determines how much lens adjustment is needed to align them – to bring the image into focus.
Phase detection happens quickly and accurately, so it is useful for photographing moving subjects. However, its performance suffers in low-light conditions.
Contrast detection is a second AF system that is used in mirrorless cameras. The camera’s sensor measures contrast in the image, and when contrast is greatest, the image is in focus. Contrast detection is also accurate, and it focuses better in low-light conditions than phase detection. However, it is not quite as fast as phase detection.
Hybrid autofocus is available in some mirrorless cameras. It uses phase detection to quickly focus on the subject and then refines it with contrast detection. The result is quick, accurate focusing even in low-light conditions.

Autofocus Points
Autofocus points are areas in the scene that the camera can focus on. You’ll see them in the camera’s viewfinder as small rectangles. To activate focus points, use the selection button on the back of the camera close to the LCD screen. The points will appear, and you can use the directional buttons to navigate to the point or zone you want to use for autofocus. You can lock focus on that point or zone by depressing the shutter button halfway or by using the focus lock button.
Most DSLR and mirrorless cameras have multiple focus points to ensure quick and accurate focusing.
Types of points include single-cross points, which detects contrast vertically or horizontally. They are the least accurate type. Cross-type points detect contrast both up and down and side to side, and this produces greater accuracy, especially in low-light conditions. Dual-cross type points are highly sensitive cross-type points and are typically found in the center of the frame.
How these points are arranged and how many there are differ on the camera and on the scene being shot. Types of point systems are single-point focusing, dynamic area focusing and full-area focusing. The more autofocus points in the viewfinder, the more versatility you have in focusing. And generally speaking, higher quality cameras have a denser grid of autofocus points.

Mastering Manual Focus
Manual focusing is a technique in which you adjust the camera’s lens focus ring to bring your subject into clear, sharp focus. Typically, the photographer views the scene through the viewfinder or the camera’s LCD screen, and adjusts focus until it is sharp.
While manual focus is especially needed in low-light conditions and when there isn’t enough contrast in the scene for autofocus to be effective, some photographers prefer using it at other times to get specific objects in clear focus.
To focus manually, choose the manual focus or MF option on your camera or lens. Then, focusing is done by rotating the focus ring until your subject is in sharp focus.
While manual focusing is more difficult, most cameras have focus assist technology. The most common are:
- Focus peaking: This feature uses colored lines to highlight the edges of the area in focus. Focus peaking allows you to clearly see whether your subject is in focus.
- Magnify the view: This feature magnifies the main subject in the viewfinder, so you can fine-tune the focus.
- Focus confirmation: This technology uses a light or a beep when clear focus has been achieved.
Discover which manual focus assist tools your camera possesses and then learn to use them to improve your manual focus techniques.
To further master manual focus, consider working with a tripod to steady your camera, so that you can pay attention to focusing. Choose Live View mode where getting sharp focus is difficult. This mode allows you to see the scene in the LCD screen, and you can then use magnification to ensure that you have your subject in focus.
It takes practice to become an expert with manual focus. Practice with still objects before working on your skills with moving objects. Adjust the focusing ring slowly and deliberately until you understand how your actions impact focus.

Image from Shutterstock
Focusing and Composition in Photography
Composition in photography is how the elements in the shot are arranged to create an image with greater visual appeal. Focusing is a major part of photo composition, especially deciding where to focus and the depth of field to use.
Focusing affects composition in two ways. First, it guides the viewer’s eye to the most sharply focused areas of the shot. Second, the depth of field you choose determines how deep into the shot objects are in good focus.
Hyperfocal distance is the focus distance that delivers the deepest depth of field. It produces a focus zone out to infinity, so that more of the scene from front to back is in focus. Practicing with hyperfocal focusing improves the composition sharpness over the entire scene and is especially useful for ensuring sharp focus detail in the background of the shot.
Focusing and recompose is a focusing technique used to achieve excellent focus on a main subject that is not in the center of the shot. It’s most often used with cameras that favor a central focus point. To focus and recompose a shot, compose the scene so that your main subject is in the center of the frame. Then use focus lock to establish focus on the subject. At that point, you can adjust the composition of the shot using, for example, the rule of thirds. The camera will remain focused on your subject even when it is out of the center of the frame, so that you can recompose it and get the shot you want.

How to Overcome Common Challenges in Focusing
A common difficulty in photography is shooting in low-light conditions, which often produces low contrast in your images. To improve your focus when light is dim, first try autofocus to see if the camera can select settings that deliver a good exposure. Manually, you can select a wider aperture (lower f-stop), so that more light reaches the sensor. Selecting a higher ISO is an option too, but it has the risk of creating blur or grain.
Fast-moving objects present another challenge to good focusing, especially motion blur. The first solution most photographers try is increasing the shutter speed, which might also require a wider aperture. Additionally, use continuous autofocus, or AF-C, if your camera has it. The camera will constantly adjust focus to keep your subject in sharp detail. Finally, choose a larger focus area or zone within the frame, which can help the camera stay focused on a subject as it moves.
A shallow depth of field is the result of using a wide aperture f/stop, which can result in poor focus when either the camera or subject moves. Solutions include using a tripod to stabilize the camera or using focus lock to lock in focus on the subject’s key features. Live view and magnification are other tools that can assist you in obtaining the sharpest focus at a low aperture setting. If these fail, consider stopping down the aperture, meaning using a narrower aperture setting, slowing the shutter speed and using a tripod.
Finally, focus hunting can occur in low-light conditions and when the depth of field is shallow. The best solution is to switch from autofocus to manual focus. If you prefer autofocus, try your camera’s single-point AF or dynamic AF to see if it provides better results. When dim lighting is the primary cause, widen the aperture and, if possible, increase artificial or natural light.

What are General Focusing Tips for Beginner
Here are good focusing tips to keep in mind as you gain experience in photography.
- Autofocus is your friend –so learn your camera’s autofocus technology and points or zones, and get comfortable selecting the best option for the shot. This includes using continuous autofocus for moving subjects.
- Don’t fear manual focus –There will be times when manual focus is necessary, so practicing the principles of manual focus and knowing when to use it vs. autofocus will come in handy.
- Use lock focus in autofocus – Press the shutter button halfway to lock focus on the main subject. Then you can take the shot or recompose the shot and still maintain good focus on the subject.
- Learn how aperture and depth of field are related –Practice changing the aperture or f/stop number to see how depth of field is affected. Keep in mind that you will have to make shutter speed adjustments too – wider aperture settings allow for a faster shutter speed and vice versa. Mastering depth of field will give you the tools to create a deep depth of field when you want it in landscape, street and travel photography and to use blur or bokeh to isolate your subject in portrait, macro or product photography, for example.


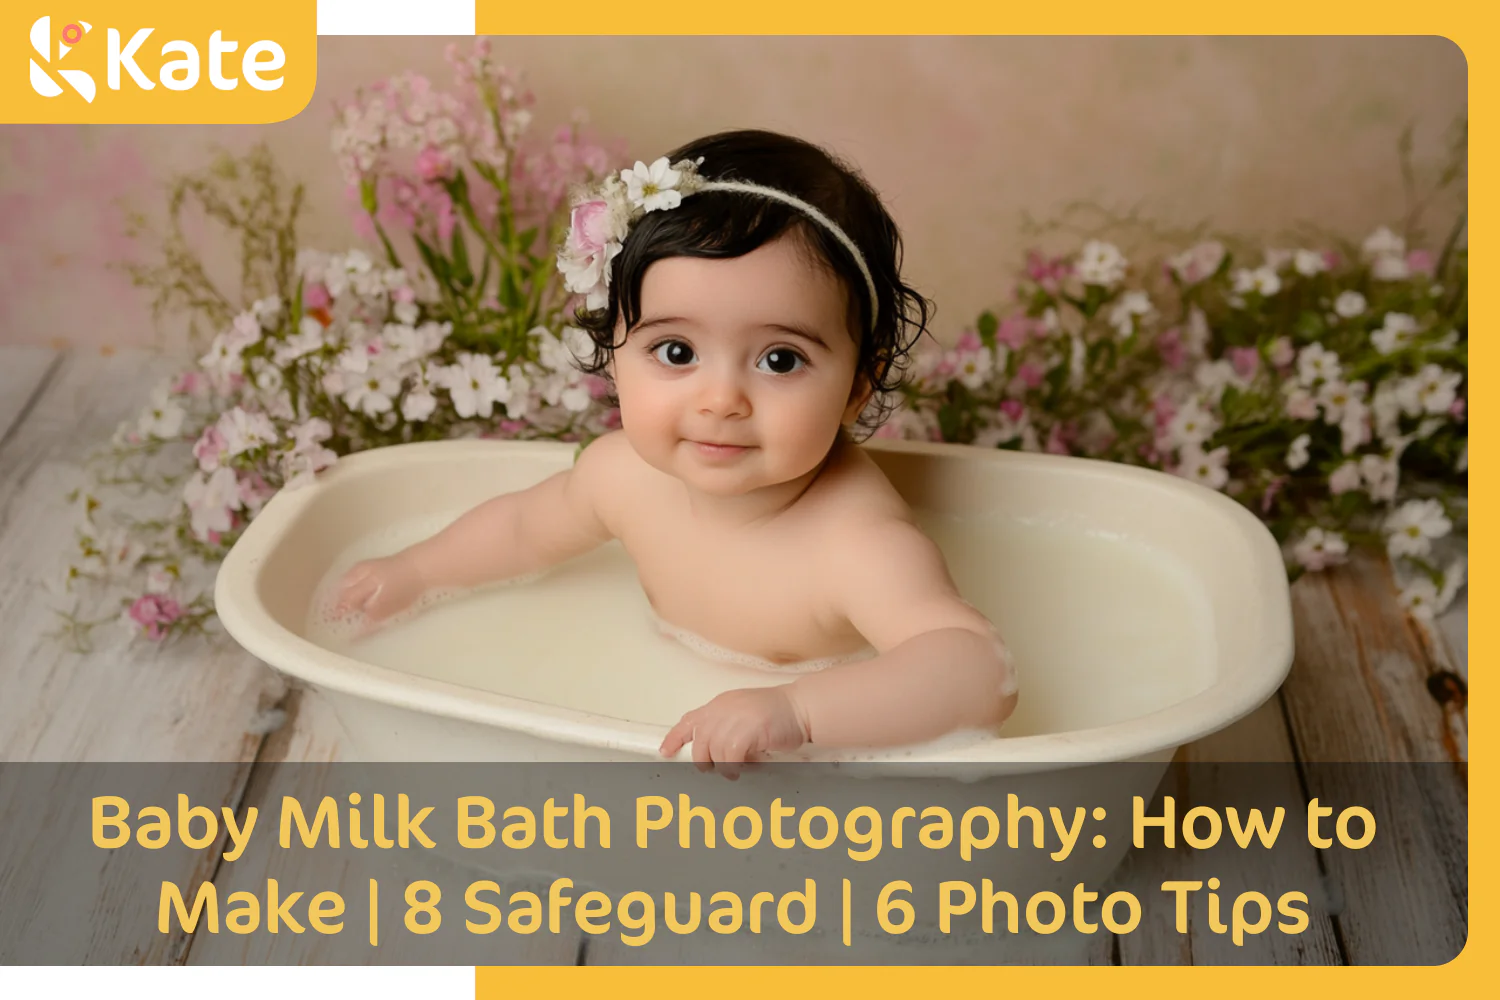


 Boho
Boho


