Christmas kitchen
15 Tips and Ideas to Capture the Allure of Winter Scene

Among the greatest gifts, at least to some parts of the world, are the four seasons. Some years ago, I would have chosen any season except winter. I used to anxiously look forward to the fall colors, getting near their peak about late October and early November, or the rich smooth greenery in mid-April.
Although, in the last few years, I've started to love winter, too — at least when there's snow and frost on the ground. Here are some tips and ideas for capturing beautiful winter scene pictures.
But first, before embarking on that winter scene photography, here ares some specific gears indispensable for your mission.
Special Gear for Shooting the Icy Landscapes
Apart from your camera and a long lens, remember to pack your tripod for long exposures and to dress yourself in some warm layers. Here are also other items that you should have:
1. Gloves
The perfect photography gloves for shooting winter landscapes should allow you to manipulate all the buttons and dials on your camera. My favorite choice is a pair of fingerless gloves with a gauntlet cover.
2. A Second Battery
Even lithium-ion batteries suffer in the cold. I carry a pocket spare battery. I have only had to use it once when it was 20 degrees Fahrenheit (-7 degrees Celsius).Also, do not forget to keep that pocket spare battery in your pocket to avoid it getting zapped by the cold.
3. A Small Towel
The camera may be moist. This happens if the outside is snowy. To clean the front of the lens, use a dry cloth.
4. Other Supplements
Also, a polarizer or a neutral density filter will be very useful. Long exposures are achievable with polarized lenses and neutral density filters.
Tips and ideas for Breathtaking Winter Landscape Photography
In case you want to get hold of tips on how to capture beautiful snow pictures, then you're in the right place. So, in case you are excited to learn how to shoot lovely snow and other winter pictures, let's go on with tip number one:
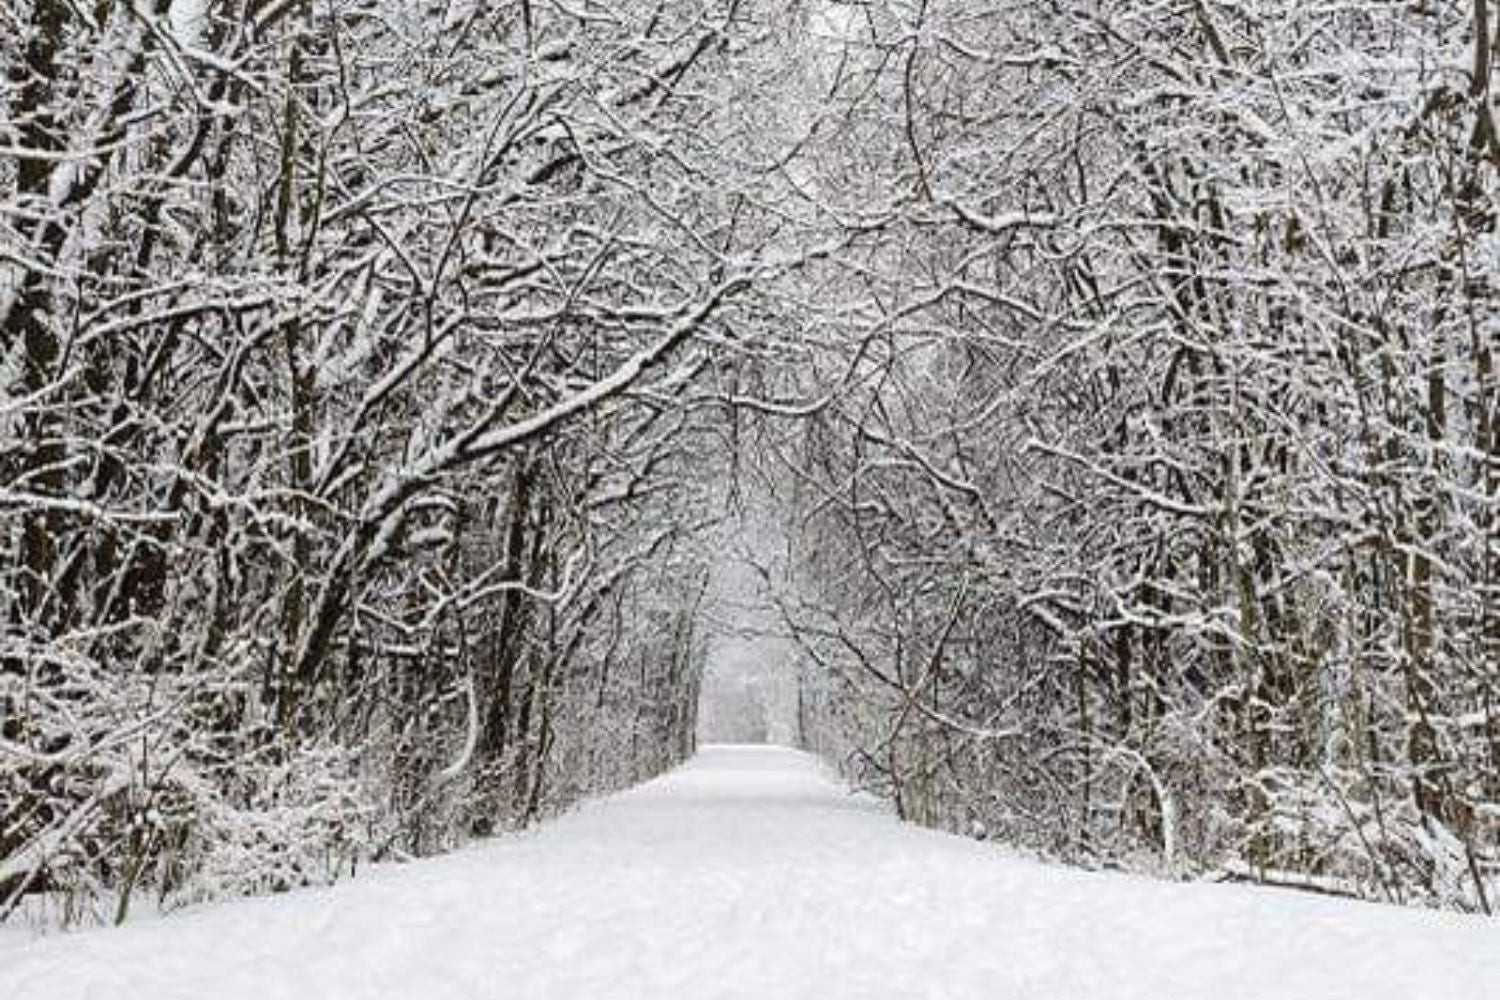
1. Plan Your Outing Shortly After a snowfall
Timing is everything. Taking a photo of a fresh snow is rare in the lowlands compared to the mountains. There it is a common phenomenon. Snow usually melts and becomes dirty after a couple of days.
Pay attention to the weather forecast and, in particular try to identify short spells of good weather following snowstorms.
Even cloudy weather can be attractive mainly if the clouds are well formed. Photographing in the snow rarely yields anything spectacular unless the snowstorm is accompanied by sunshine.
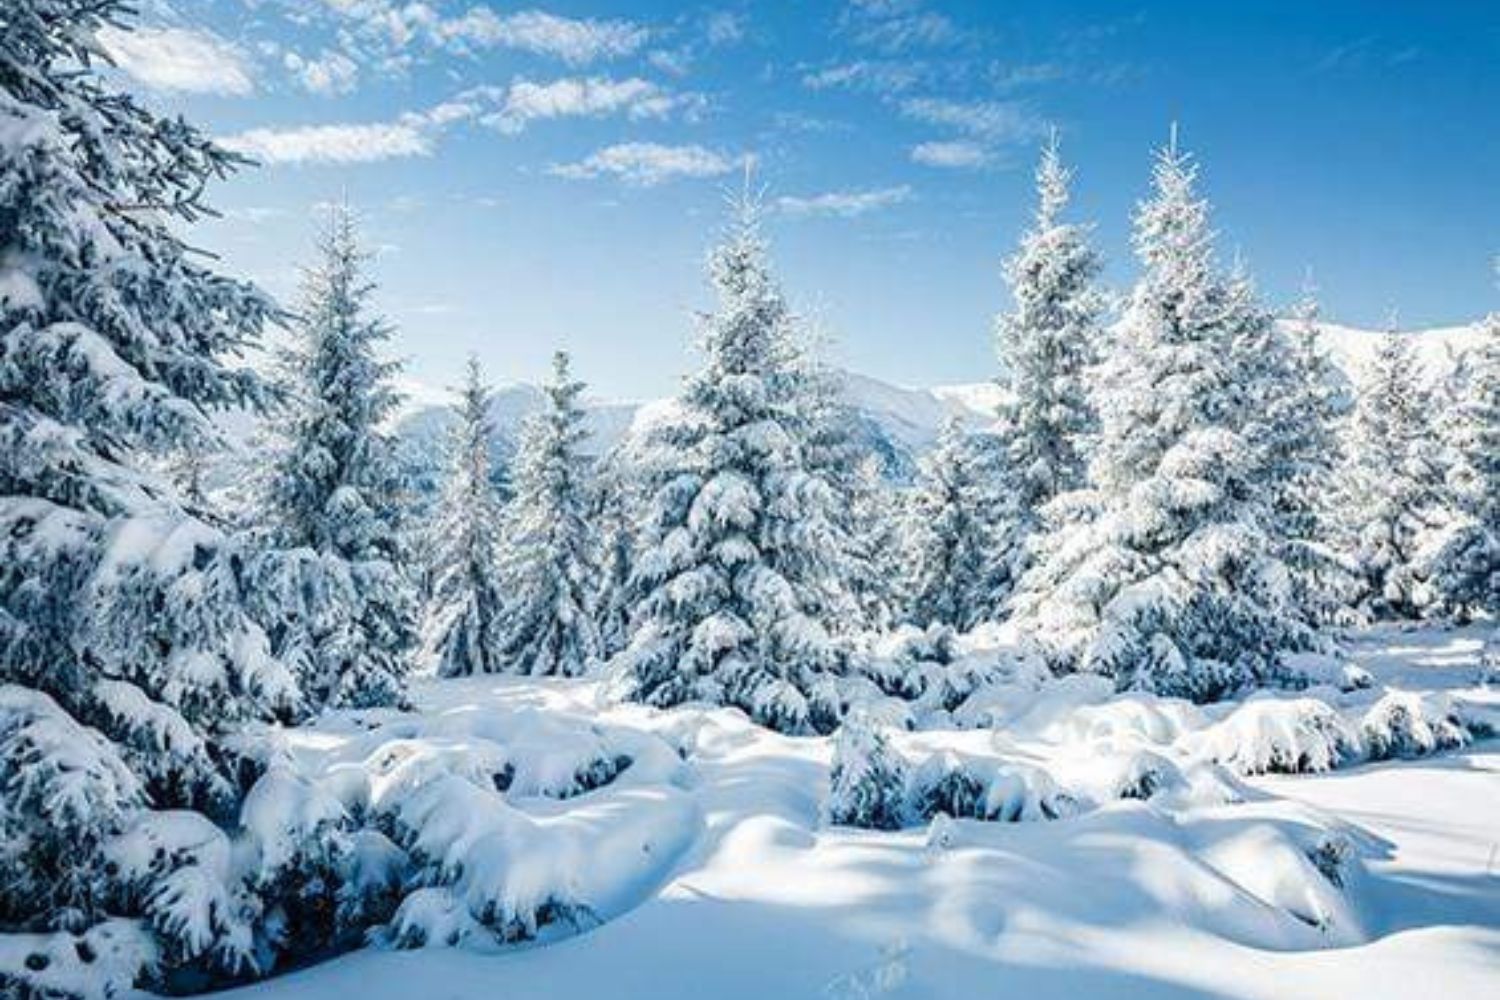
2. Form Snow Shapes In the Foreground
Fresh snow, wind, and frost make extraordinary shapes and patterns. This makes for a fascinating subject for a foreground that you have.
If the snow cover is a bit old, maybe partly melted already, look at the foot imprints or any trace in the snow; they might work like leading lines in your composition. You have to go down and close with the wide-angle lenses to those buildings.
3. Use Hyperfocal Distance Calculations to Find Your Best Point of Focus to Control the Depth of Field
Remember to allow for some diffraction, which may make snow particles and other essential features look mushy rather than sharp and exact.
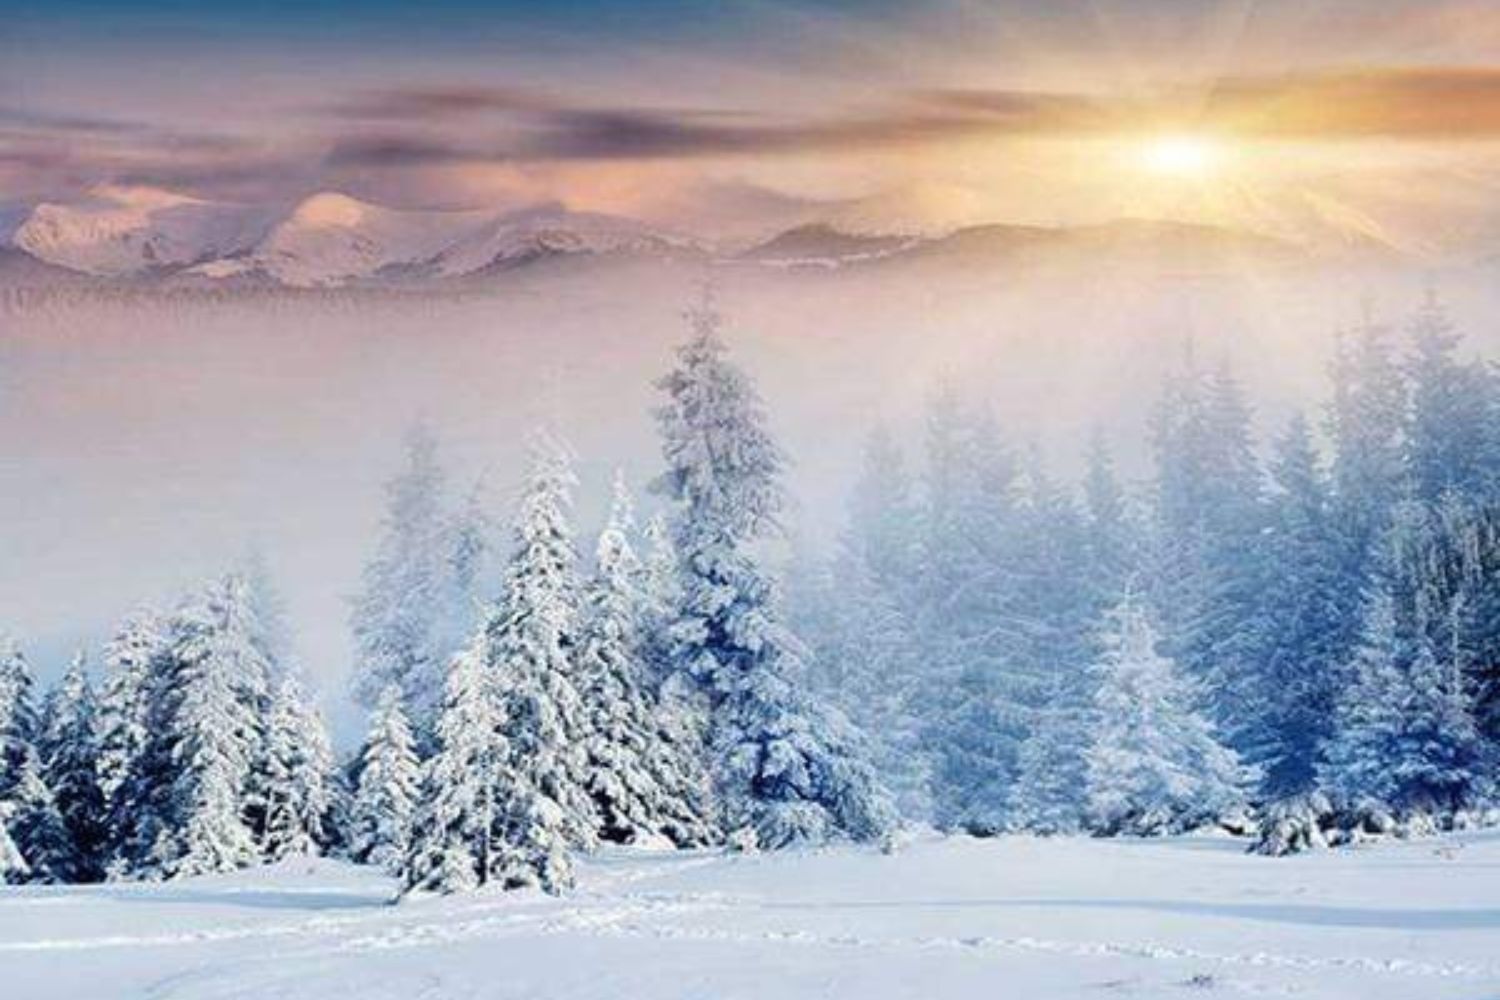
4. Apply Color Arrangement Modestly
The color palette offered by snow-covered landscapes is genuinely unique. The color scheme is really on-point. Snow softens the harsh tones and focuses on some pastel tones that would be missed. Snow softens those sharp notes and pulls out those pastel palettes that could be lost.
An open sky usually displays vivid blue as the only saturated color. The snow covers unattractive color images on the ground, such as the unsightly green-brown colors of empty meadows.
The fully crystalline snow carries the aesthetic beauty of the sky at its most colorful points: when the sun is setting and rising in the morning sky.
5. Make the Sun Your Main Mubject
Sometimes, at even colder temperatures, when the sun is just above— or below—the horizon, these purples and oranges are even more exaggerated. Make the Sun Your Main Subject
Using photos against the sun and including the sun in the lower part of your image will make it an excellent center of attraction. It is relatively low in the sky in the mornings and late afternoons.
If you have an excellent lens controlling brightness well and drawing great sun stars, it will be a significant architectural element in your winter photos.
he aperture of your lens will need to be stopped down very small, such as f/11 or f/16, for the starlight to register.

Photo by Timothy Eberly on Unsplash
6. Use the Frost
When white frost is applied to it, almost anything can become a beautiful subject. The catch is that that makes it pretty tough to shoot.
The surreal moment is when everything has a diaphanous shroud of ice. This might get very distracting for the photographer to take an attractive picture.
7. Create Black and White Photographs
The black and white shots of snow and frost make a resounding monochrome in the background. It all starts to elongate in its silhouette as the sun goes down.
8. Make Use of a Lens Hood
If you can detach your camera lense, a lens hood is most likely worth using. The front of the lens is designed to screw on a plastic lens hood. It gives a rather wide view.
The lens hood is used to reduce the unwanted sun rays that come into the lens from the edge of the shot, which usually yield poor-quality photos. Besides, the lens hood stays sure to prevent small splinters from directly picking on the glass lens of the camera, therefore ensuring that your lens remains moist-free.
9. Identify Specific Traits
If the landscape is covered with snow, look for some little things.
Even on a gray day, some subjects look mysteriously different when photographed with snow versus without it.
Some interesting white canvas fills your frame with subjects like branches, fences, and many others commonly found in your local area.
10. Focus on Difference
The camera's autofocus works through contrast detection. You can do this by putting your camera in single-point AF mode. You then plan your primary subject area over the contrasty point of your snow scene, then press the shutter button halfway.
The subject will lock when the contrasty point of the scene is achieved. You the have to hold the shutter button down fo you to recreate the scene.
Once the setting demanded is achieved, push the button down to get that flawless snow photograph.
11. Choose the Appropriate Camera Settings
Recommendations are: choose the camera evaluative metering mode, set your camera to shoot in RAW, and key in one or two halts of constructive compensation.
So, either you use an aperture mode or the manual mode when shooting.
12. Snap Some Blurry Shots

A perfect time to make some blurry lights would be a sunny winter day, with the snow and ice sparkling and constantly changing. An image of light-striking snow can create a stunning blurry light effect when done together with focus.
To accomplish this, find a material that has a shiny surface in the background. It could be anything like, melting snow or shimmer shining through the ice. Set your camera to a wide-aperture setting, around f/4, and ensure that your subject and the sparkling background are well distanced to give you some nice background bokeh.
13. Fast implementation
Considering snow takes no time to melt when sunshine begins, you must be watchful of the beautiful snow shoot chances. Do not tarry to take action, but clutch that chance while you are sure it still stands.
14. Shoot With a Fast Shutter Speed
Through practicing, you will know what the perfect setting is once it is engraved in the velocity of the snow. You can experiment by setting your 1/100s or higher then take shots. After that you need to view them in detail on your LCD.
Or you can throw some light snow; at about 1/30s, the crisps will leave long white streaks yet, which may make a superb pattern if efficiently captured.
15. Play With Perspective
Shoot from low down when shooting up. Try looking out for either a deck or a hill that you can make use of when shooting downwards. With that, you will capture the snow blanketing, how it attaches itself to almost everything, and how it overweighs things downwards.
Conclusion
Making shots of the winter scene is the best way to spend time in winter. Taking pictures also includes getting fantastic views of the white fairyland. This will not just get you rid of cabin fever but also keep your picture-taking ability fresh.
If you like this article, please share it! Be sure to join our FB Group: https://www.facebook.com/groups/Katebackdrops/. to share your ideas! You can also receive free articles, updates as well as discounts information from https://www.katebackdrop.com/ and our FB Group.